Building a 486 Gaming PC
Over the summer, I built a 486-based PC for playing DOS games. I didn’t document my progress along the way, so I’m documenting it now retrospectively.

Why build such an old PC?
I was watching one of LGR’s videos and started thinking about building a PC to play DOS games. It seemed like a fun research project as well, figuring out which components to select and how to build a working PC from them.
How much money did you spend on this?
Too much.
How did you select which components to use?
Processor
First, I set a target for which processor I wanted to use. I picked the fastest Intel 486, a DX4-100. I debated on using newer Cyrix or AMD 486-compatible processors, but decided to stay with an Intel 486. Earlier 25 or 33 MHz processors just do not interest me, I want to build with the fastest of the 486 era. The processor bus is 33 MHz and the core operates with a 3x clock multiplier for an internal operating frequency of 100 MHz. These get pretty warm, so I installed a small heatsink with a fan.

Motherboard
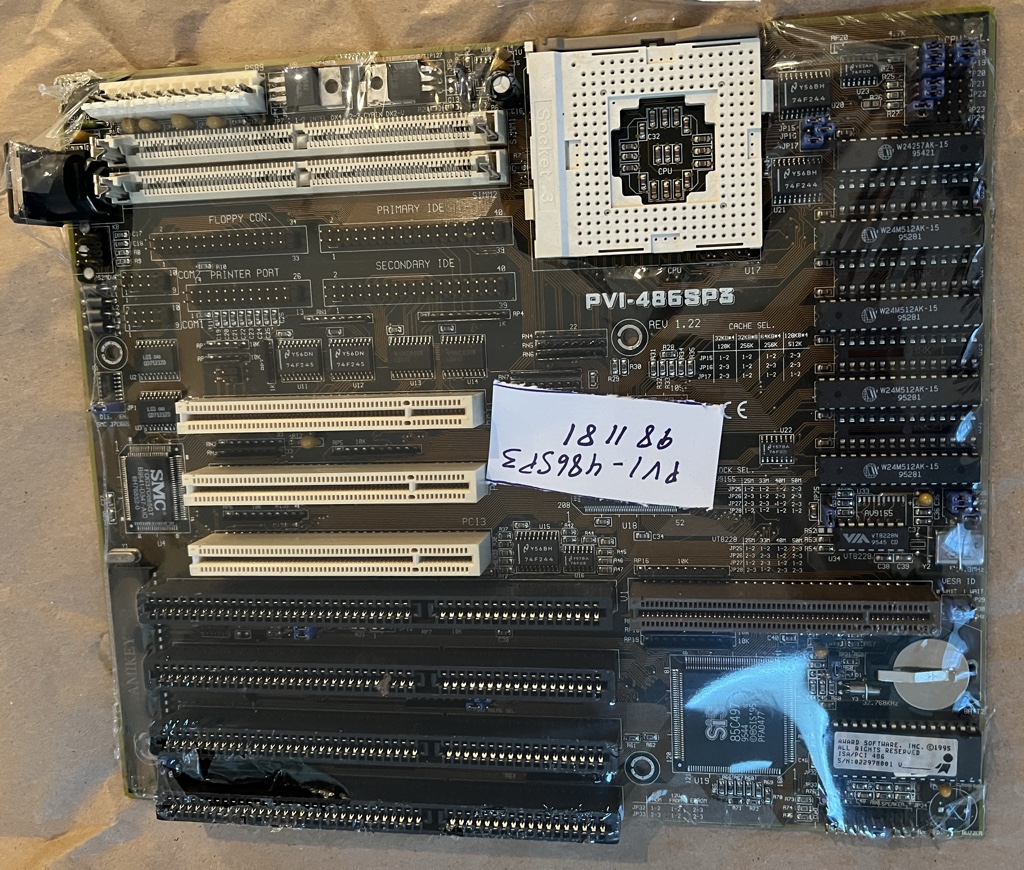
Next, I did some research on chipsets. I found the general consensus among retro computing enthusiasts to be that Silicon Integrated Systems made the best 486-era chipsets, specifically their SiS 496/497 pair. I started researching which motherboards use that chipset and found an ASUS board, the PVI-486SP3. It seems to be well regarded by users on Vogons. Socket 4 with 3 PCI and four ISA slots, one of which is also VESA Local Bus. It has a good, stable Award BIOS that is fairly easy to use. It supports up to 512 KB of L2 cache and 128 MB of RAM through two 72-pin SIMMs. Notably, it uses a standard CR-2032 for CMOS instead of a soldered lithium barrel battery or pesky Dallas RTC. And while it does have a good bit of onboard I/O, I do not use most of it. This model pops up on eBay occasionally, usually at a high price. Most of the sellers were international as well. When one from a US-based seller appeared, I bought it immediately.
RAM
For RAM, I purchased two 32 MB 72-pin 60ns FPM SIMMs. While the motherboard and chipset state they support EDO DRAM, in practice I could not get it to work. With EDO SIMMs installed, the motherboard boots to “Award bootblock BIOS” and states the BIOS ROM has a checksum error. The motherboard supports up to 128 MB, but I thought that would be a bit excessive. Even 64 MB is a bit much, but I bought these SIMMs inexpensively.
Cache
Something I’ve always found interesting about 486 and Pentium era motherboards is that the L2 cache is on the motherboard. Fast SRAM chips are installed in sockets on the motherboard and the chipset uses them to cache frequently used data from main memory. Adding cache can dramatically improve performance as the processor does not have to wait for data to be fetched from RAM as often. My motherboard came with 256 KB of L2 cache already installed. I tried upgrading it to 512 KB, but it would not POST reliably, so I reverted to 256 KB.
Case
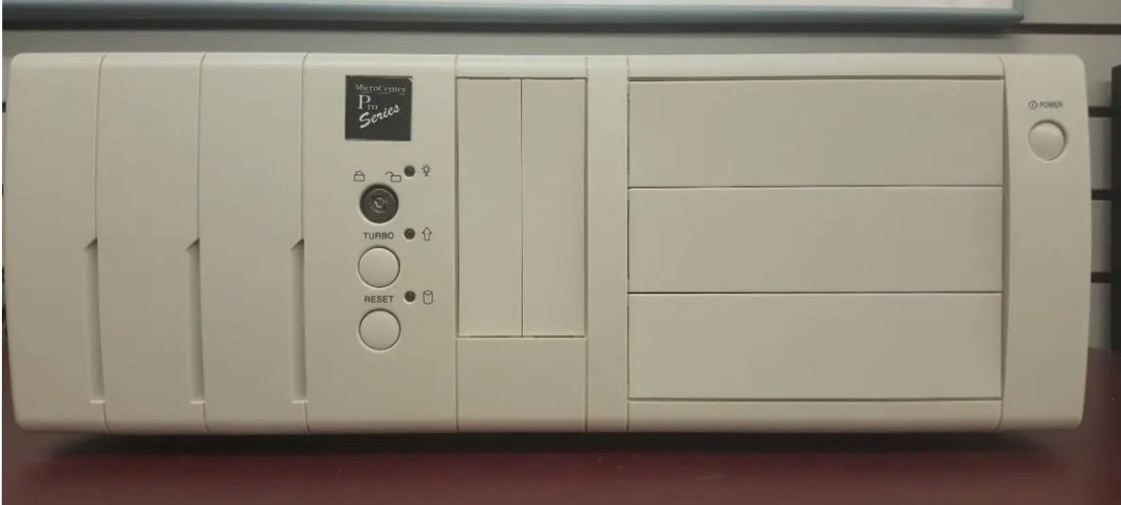
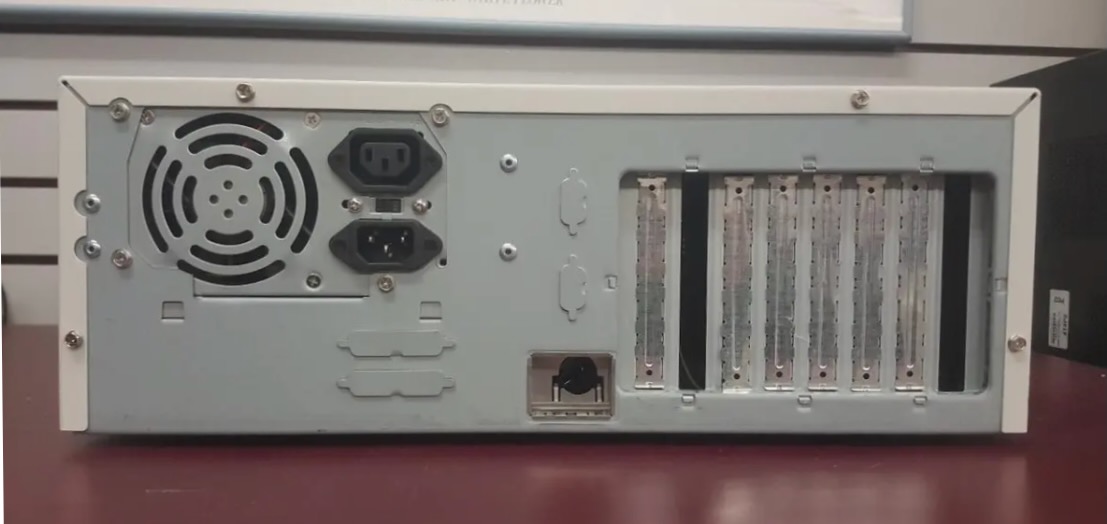
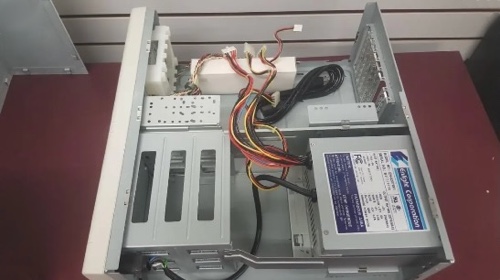
I had been searching for an AT-compatible case for several months. A listing for a new-in-box desktop style AT case popped up. It’s an old, new stock Micro Center Pro Series baby-AT case sold by Micro Center’s eBay account. The description notes that it was discovered in a warehouse behind a shelf, sitting unused for almost twenty-five years. It was in excellent condition, had a turbo button, came with all the original screws and standoffs, and even the key for the keyboard lock. I just had to have it. I liked the case’s style and the included 200W Enlight AT PSU was a nice bonus.

Drives
I purchased a late model 3.5” floppy drive, a Sony MFP-920, as one is required to get anything done on any 486-era PC. I also installed a TEAC 1.2 MB 5.25” floppy drive to read and write 5.25” disks. For primary storage, I would like to get a Quantum Bigfoot drive, they’ve always seemed cool. Currently, I am using a ZuluSCSI drive emulator for storage as it is convenient. I should get a SCSI CD-ROM drive as well, though I do not know which brands were popular in that era.
Cards
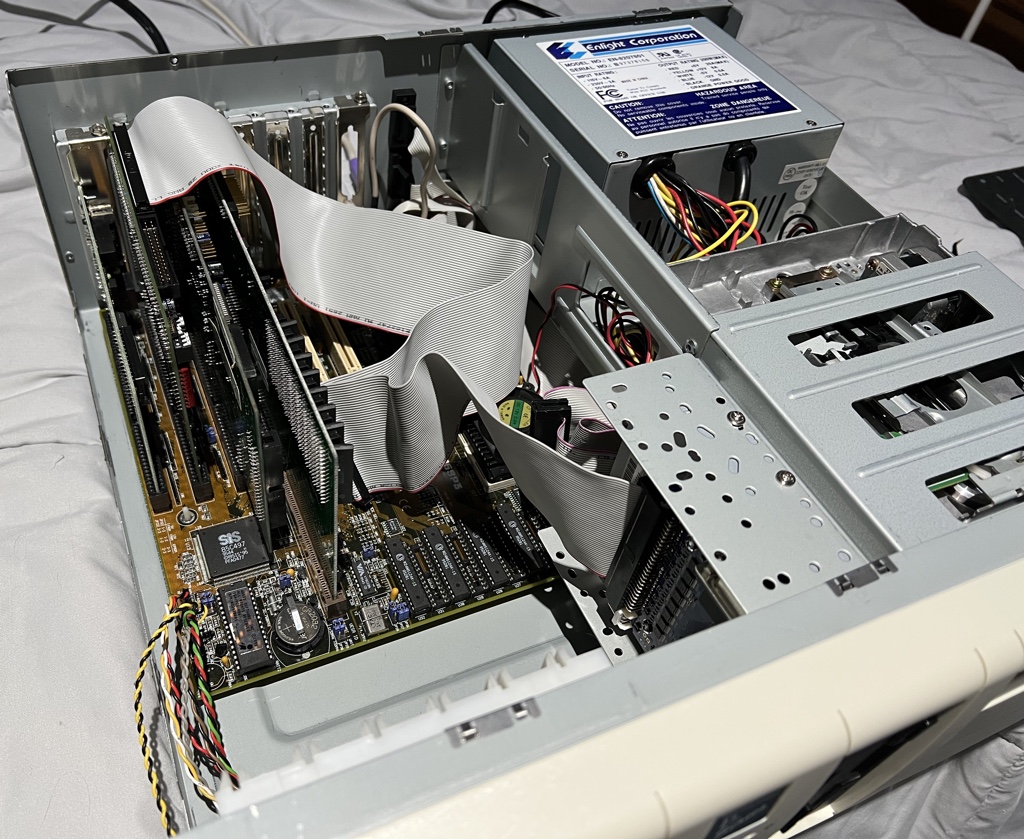
Video
I happened to have an ATI Mach32 VLB video card in my basement, so I used it. Compared to other VLB video cards, it is respectable in DOS gaming performance. Though the Diamond Stealth 64 VLB VRAM is still the performance champion, those are just too expensive.
Sound
Using a SoundBlaster 16 was the obvious choice. Most games are designed for SB16 sound and Roland cards are too expensive. The hard part is choosing which Sound Blaster variant. I had purchased a SoundBlaster 16 CT1770 as it could be obtained at a reasonable cost and the onboard SCSI was a nice bonus. But I discovered an original SoundBlaster 16 CT1740 in my basement and used that instead.
SCSI
For this build, I decided to go entirely with SCSI storage. Being a user of classic Macs, I’ve really come to appreciate the elegance of SCSI over ATA. It fits the vintage high-end theme of the build as well. I chose the Adaptec AHA-1542CF card, though I won’t be using its onboard floppy controller. The AHA-154x series were popular and thus well supported in terms of driver availability on many operating systems of the day.
Network
This one was a bit harder to choose as there were many options and each are well supported in terms of drivers. I ended up going with a 3Com EtherLink III as it requires minimal configuration.
What issues did you encounter when building this PC?
Frankly, I’m amazed I got it to POST on the first try. PCs of this era are far more difficult to build than modern PCs, there’s a lot of arcane knowledge required. First, you must set several jumpers on the motherboard to configure it before even attempting to power it on. For example, you need to set the proper processor voltage, CPU type, CPU bus speed, and the amount of L2 cache through jumpers.
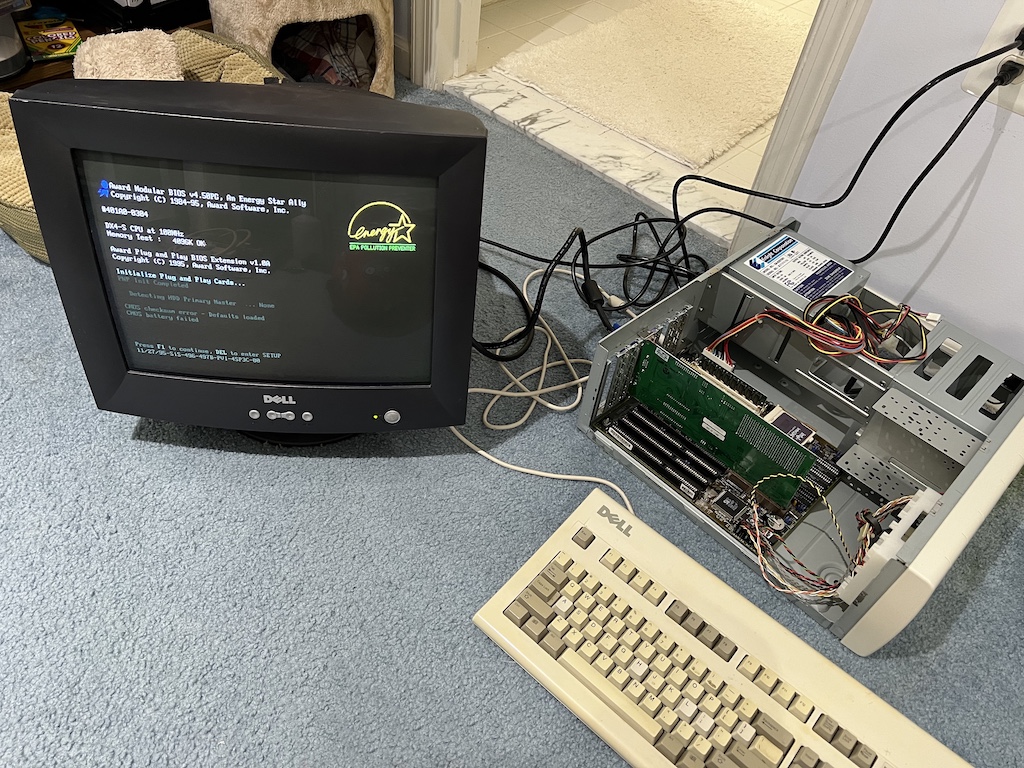 At first, I only had the video card installed in order to get it to POST.
Once I started adding more cards, I ran into an issue: resource conflicts. It stopped booting from the test DOS floppy I was using. Then it stopped POSTing fully. I had forgotten about resource conflicts. One of the biggest frustrations of early PCs was the fact that you must manually configure every expansion card in your PC with unique I/O addresses, interrupts, and sometimes DMA channels. And these cannot conflict with other cards in your system nor the built-in adapters on your motherboard.